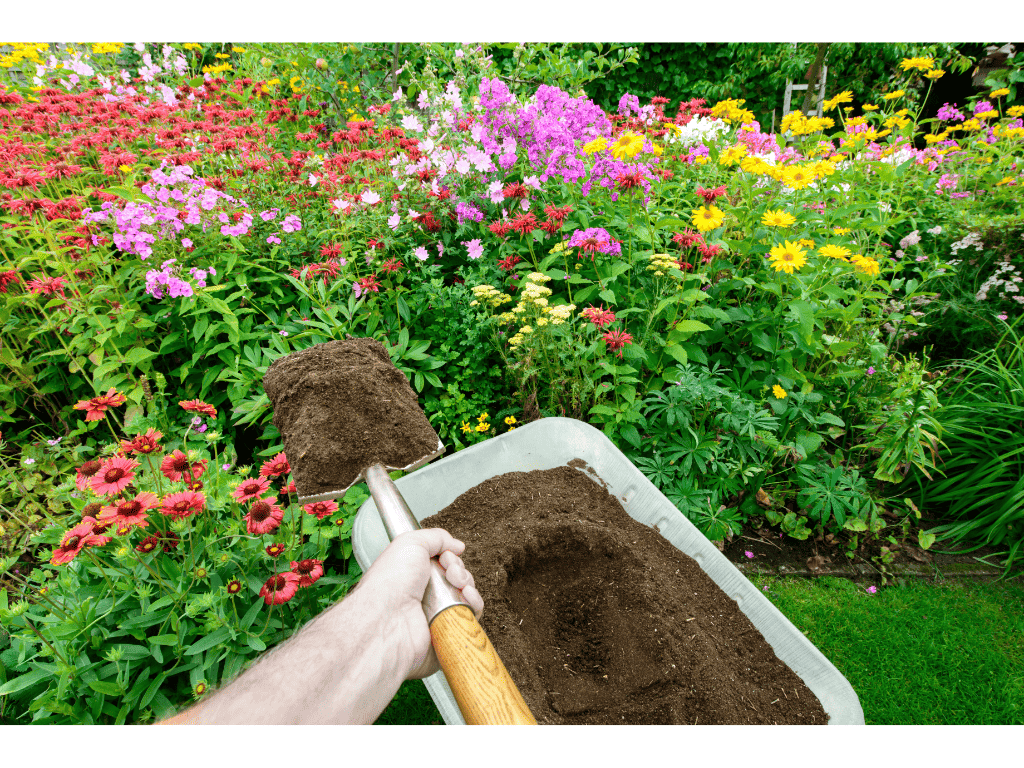
Compost can add an incredible amount of nutrients to your garden. If you’re looking to do your own composting, you may have questions about how to go about it.
The best time to start a compost pile is in the Fall. The size, composition, and how you tend to it, will determine how long it takes for your compost to be ready.
Here are the basic components of a composting schedule to help you get the most out of your pile.
The Best Time To Start Composting
You can start your composting pile at any time of the year since each season offers its own benefits. However, Fall is known as the best season to start your pile.
Benefits of Beginning To Compost In Fall
In Autumn, you have access to a wide variety of carbon and nitrogen-rich materials.
Different materials from your garden and yard are ready to be cleaned up when fall comes around. These different nitrogen-rich materials are a great way to ensure you have enough material to start your pile.
Starting Your Pile In The Spring
Spring is another popular time to start composting. This is because spring is accompanied by warm weather that stimulates the microbes within the compost to be more productive.
Also, you can use the grass you cut during the spring to help keep your compost pile supplied.

How To Start Your Compost Pile
Once you decide when to start your pile, it’s time to choose how you will go about making the pile. This is important because it affects your composting schedule. There are a few different ways you can go about composting. These different methods include:
- Making a compost heap
- Using a compost bin
- Using a compost Tumbler
- Utilizing worms through vermicomposting
- Burying to utilize soil incorporation
Utilizing A Compost Heap
Your compost heap should be about 1 cubic yard. This is to ensure maximum efficiency of microbes working to break down your materials into compost.
At this size, microbes are working at their fastest. You know they are working by how warm the pile gets. The harder they work, the warmer the pile.
Piles that are 1 cubic yard are known to get up to 140 degrees Fahrenheit. Anything smaller or bigger will not be as efficient but will still get the job done. This method can take anywhere from 3 months to 2 years.
Benefits of A Compost Bin And Tumbler
A bin offers a neat and tidy location for your composting to be done. Depending on the size and how it is made, it can also be more easily moved if necessary.
However, it can make turning the compost more difficult to do.
Bin composting can take up to 3 months. It can take faster or longer depending on if you rotate it often.
A tumbler is like a bin but it is easily rotated to aerate your compost when needed. Typically, it takes only about 3 weeks for compost to be broken down in a tumbler due to the size and aerating abilities.
Utilizing Vermicomposting
Vermicomposting involves using worms to break down your materials. You need a good selection of different types of worms in order for it to be effective.
Depending on how many worms you have, vermicomposting can take about 3 months in the beginning.
After about nine months though, after you’ve built up a large number of worms, you can get compost in as little as one month.
Soil Incorporation Composting
With this method, you bury your food scraps in the ground. There is no maintenance required with this method which makes it attractive to many people.
However, the size and type of food scraps you bury will determine how long it takes to break down. This method can take anywhere from a month to a year before decomposition fully occurs.

How Often Should You Add To A Compost Pile?
How often you add to your compost pile depends on the technique you use.
There are two basic techniques.
- Cold Composting
- Hot Composting
Cold composting is also known as passive composting and allows you to continuously add to your pile as you desire.
However, this method takes much longer to break down. Anywhere from 8 months to two years to be exact.
Hot composting is also known as batch composting. For this technique, you add until you have a batch and then not again until the batch has completely broken down. This method takes about 8 weeks to complete.
How Do You Know When To Stop Adding To Your Compost?
When your compost reaches the ideal temperature between 141 degrees Fahrenheit and 155 degrees Fahrenheit, it’s time to stop adding to a batch.
It takes about 24 to 36 hours for the batch to reach this temperature.
However, if you want a more accurate reading, you can purchase a compost thermometer that will let you know exactly how warm your pile is.
What Do I Do With Extra Scraps If I’m Using The Batch Technique?
If you are using the hot composting technique, it is recommended that you have multiple different compost units.
That way, as you let one batch go through the composting process, you can add to another pile, bin, or tumbler so that your scraps are not wasted.
It is recommended you have at least three different composting piles when using this method to ensure you get the most out of your scraps and your batches.
The other benefit to having multiple piles that are ready at different times is that you have compost readily available to you more frequently than if you only had one pile.
What To Add To Your Compost To Make It Decompose Faster
If you’re looking to shorten the time frame of your composting process, then try adding nitrogen and carbon-rich materials.
Some nitrogen-rich materials include:
- Cut flowers
- Corncobs
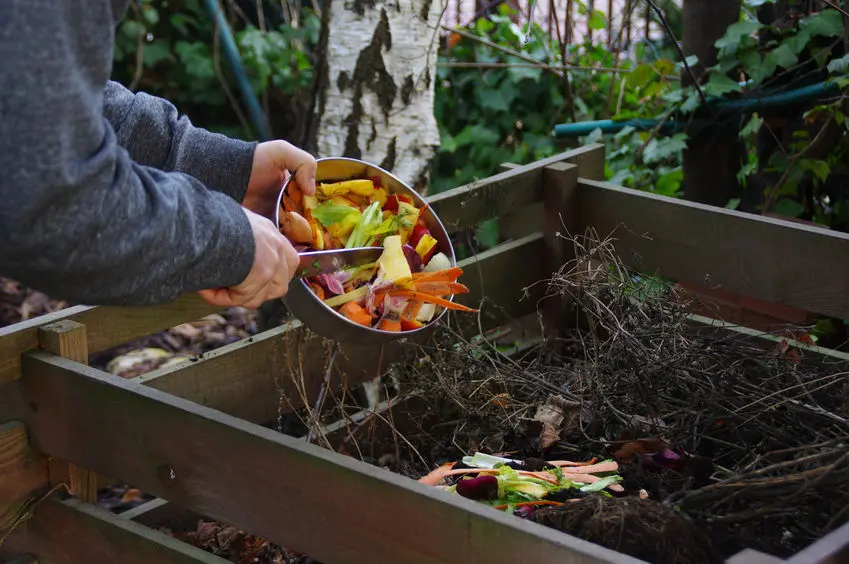
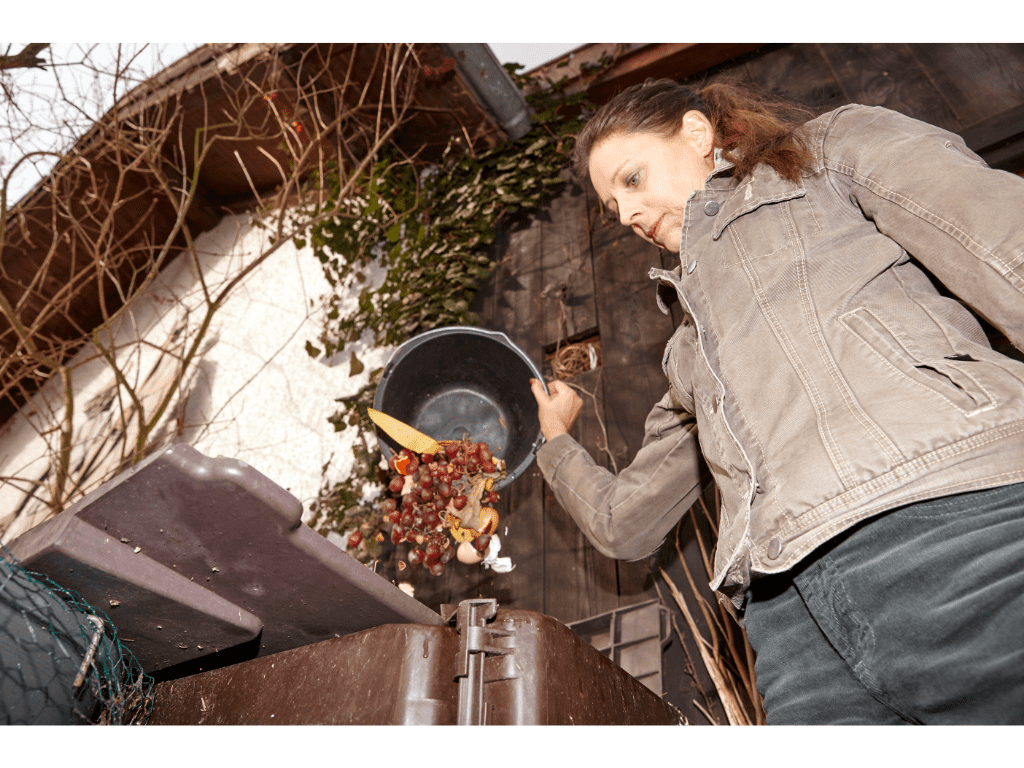
- Vegetables
- Fruit pits
- Nutshells
- Coffee grounds
- Manure
Some Carbon-rich materials include:
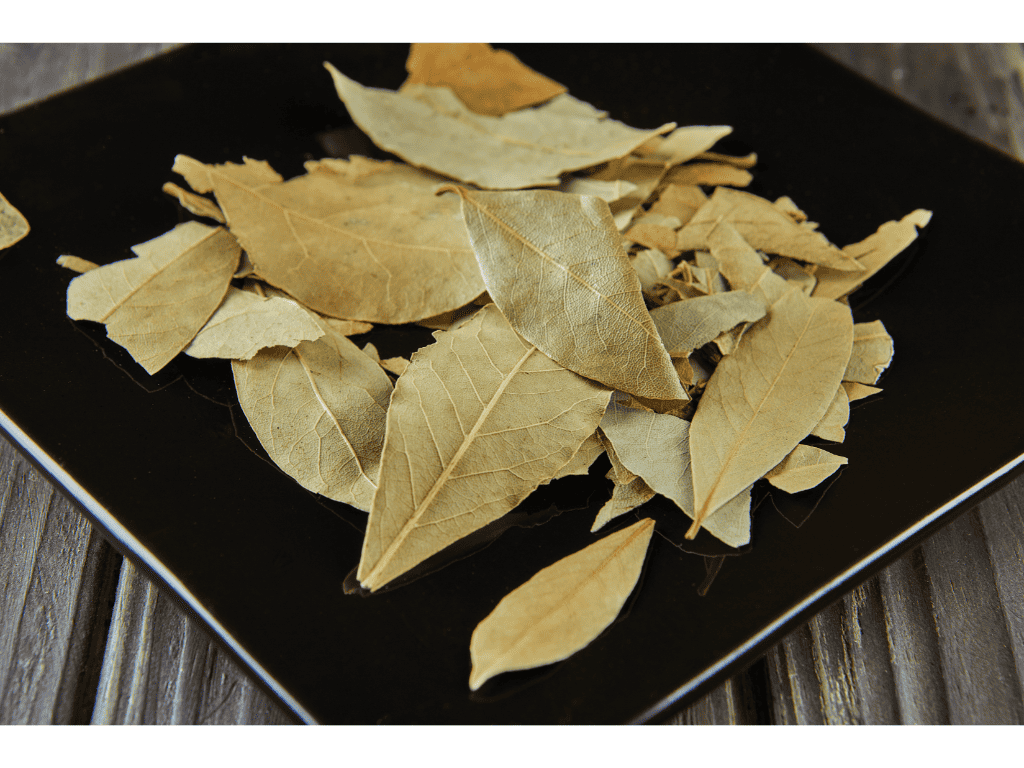
- Leaves
- Straw
- Paper
- Sawdust
- Bark
Should You Only Add Small Materials To Your Compost?
While it is true that shredding the materials you put into your compost pile will make it decompose faster, you still want different sized materials placed in your compost.
Microbes need air to work efficiently. Though most of your pieces can be small to speed up decomposition, the bigger pieces allow for more air pockets within the compost for the microbes to use.

How Often Should You Turn Your Compost Pile?
Your compost pile needs to be turned to aerate the microbes that are breaking down the materials.
You should turn your compost every 2-4 weeks. The more frequently you aerate, the quicker your material is broken down into compost.
However, turning sooner than 2 weeks can slow down the process because you need to allow for heat to build up in the center of the pile. The warmer the pile, the more efficient the microbes work.
Typically, the average composter will turn their pile once a month. If you’re looking to speed up the process, however, don’t do it any more frequently than 2 weeks.
How To Aerate Your Compost Pile
Turning your compost pile is rather easy if you are using a tumbler. Simply crank the handle and watch it turn.
However, aerating a bin or heap can be trickier. You can use a pitchfork or shovel for both of these methods. Scoop up the pile and mix it around some.
If you are using the heap method, you can use a tractor to scoop up the pile and flip it around to make the process easier for you.
The vermicomposting method does not require you to turn your pile because the worms aerate the pile for you.
Should You Add Water To Your Compost Pile?
The microbes within the compost need water to work efficiently. However, too much water can fill the air pockets and make them work inefficiently.
It is important to find a happy medium when it comes to the saturation of your pile. Water should make up about 40 to 60 percent of your pile.
How To Add Water To Your Pile
If your pile feels dry to the touch, you can add water to it using a hose or sprinkler system.
The best way for your pile to retain water is to make the top concave to ensure the water seeps down into the pile rather than running off it.
Also, if you are pouring the water on, be sure to do it slowly to keep the water from just washing off the sides instead of seeping in.
Water Dense Materials To Add To Your Pile
Adding materials that contain a lot of water can be helpful in maintaining the desired saturation levels.
However, be careful not to add too many water-dense materials, as this can cause your pile to become overly saturated.
Vegetables and green matters contain lots of water. Even dry grass that has been mowed contains a considerable amount of water.
Leaves can also be a good source of water. A good way to test if they contain water or not is to see if they feel damp and release water droplets when squeezed.
Dry leaves, however, can make your pile drier.

What If Your Pile Is Too Wet?
If your pile appears soupy and smells worse than normal, it is probably oversaturated.
Aerobic odors are produced when the pile is too wet which is a great indicator it’s time to add some dry material.
Dry materials like wood chips are helpful because they help to absorb the water while also creating air pockets to aerate the microbes again.
You can also form the top of the pile into a peak so that any rain that falls onto it is more likely to wash down the sides rather than be absorbed in.
The Final Stage of Composting
No matter the method or technique, the final stage of composting is known as curing. This is when you leave the compost to sit and cool down without aerating or adding to it.
The length of this stage is up to you. It can take anywhere from a month to a year to complete based on your desired outcome. The longer you wait, the better the compost.
During this stage, the compost will return to normal air temperature. You can tell by feeling the compost or using your compost thermometer and ensuring it reads about 50 degrees Fahrenheit.
How To Tell Your Compost Is Finished
Depending on the method you choose to use and the technique, your compost can be ready in as little as a few weeks or a few years.
After the curating process, there are a few different ways to tell that your compost is ready to be used. These include:
- The pile is about half of its starting size
- There should few to no recognizable materials left within it
- It appears to be dark and crumbly
- It doesn’t smell sour or like ammonia
Most of the organic material will have been broken down during the composting process. However, some pieces, like woodchips, may not fully breakdown and that is okay.
You can screen them out before using the finished product and potentially add them to a different pile.
A great test to determine that the compost is ready is to seal it in a plastic bag for about 3 days. Then, open it and smell the compost.
If it smells earthy and good then it is ready to be used. If it smells sour like it’s still rotting, then the compost needs more time.
You Decide Your Composting Schedule
What time of the year you start, how often you rotate your pile, and how long it takes to have a finished product, is all up to you.
Depending on your needs and capabilities, your composting schedule can look completely different than your neighbors.
Figure out what method and technique will work best for you and then enjoy the compost you get out of all your hard work.